[Fixed] Can’t Extend C: Drive Even with Unallocated Space (Windows Solution)
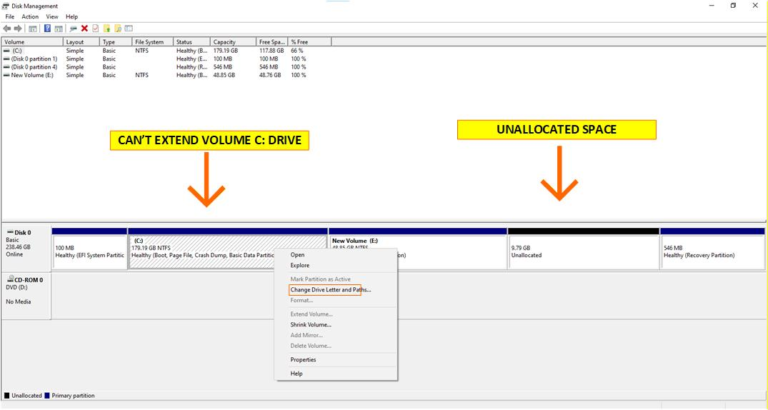
There are situations where your C: drive becomes full, and you cannot extend it because the unallocated space is located after the D: or E: drive. No matter what you do, you cannot move the unallocated space next to the C: drive.
This is because Windows Disk Management can only resize partitions; it cannot relocate free space.
First, download the free version of NIUBI Partition Editor from official site or the drive link I have provided. Then, install the software.
NOTE:- If you get a ‘Check Internet Connection’ error while downloading the .exe file, disable the antivirus.
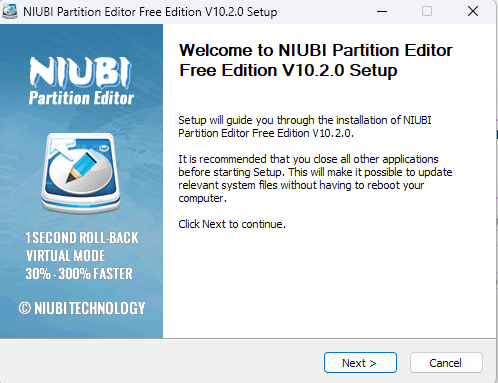
2. Launch NIUBI Partition Editor
After completing the file download, we can start the installation by simply double-clicking the file in the folder.
Once the installation wizard opens, click ‘next & Install’ to proceed, keeping the default settings.
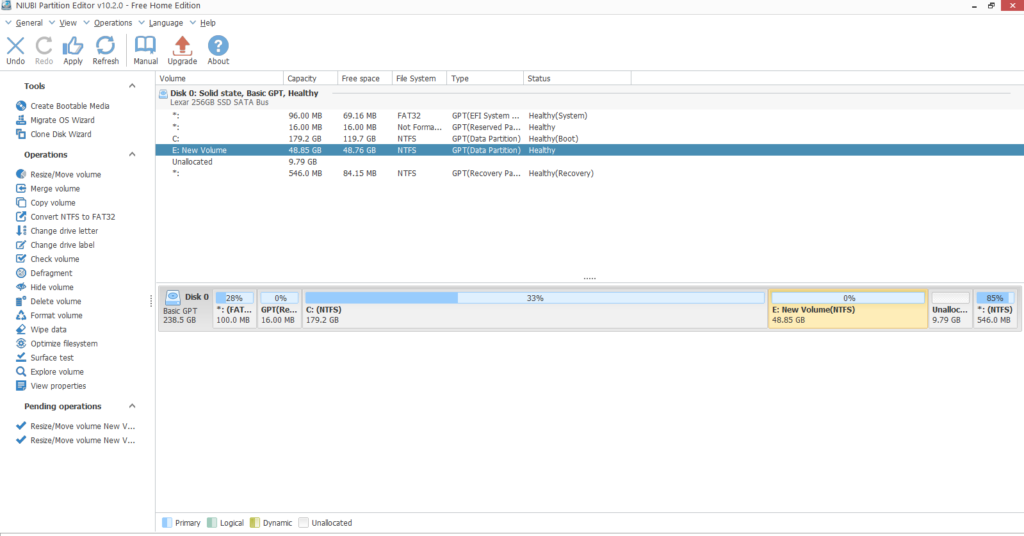
After installation open the application.
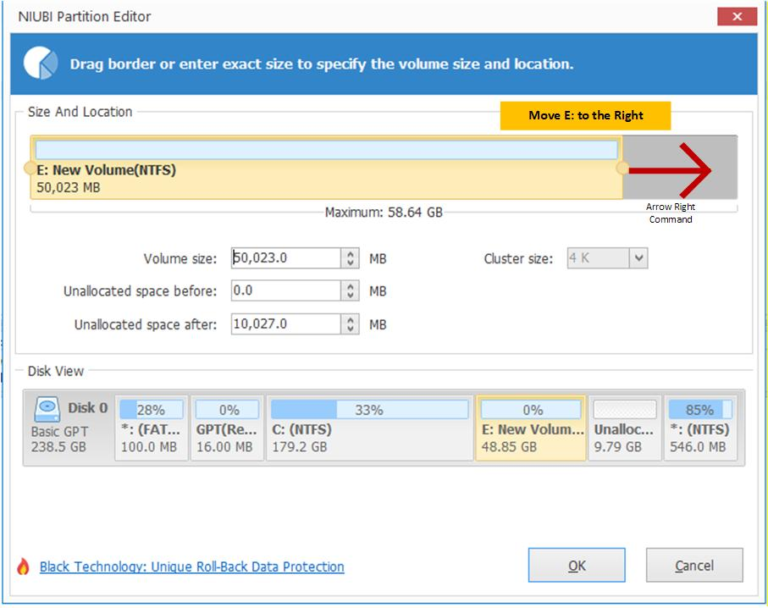
3. Move the E: Drive to the Right
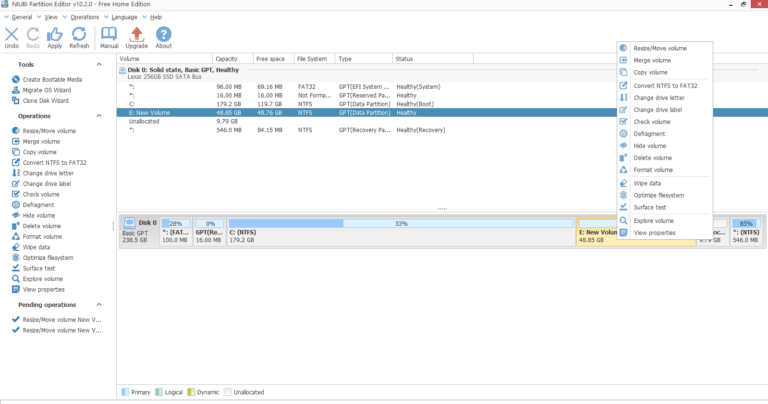
Locate the E: partition, then right-click on E: as shown below.
Click on option “Resize/Move Volume”
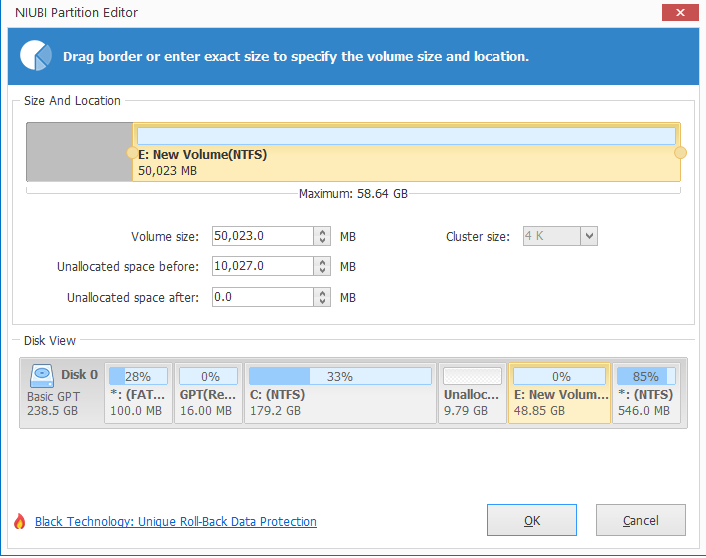
Finally drag the E: partition to the Right.
Unallocated Space will come near to C: Drive. Click “OK” to Confirm
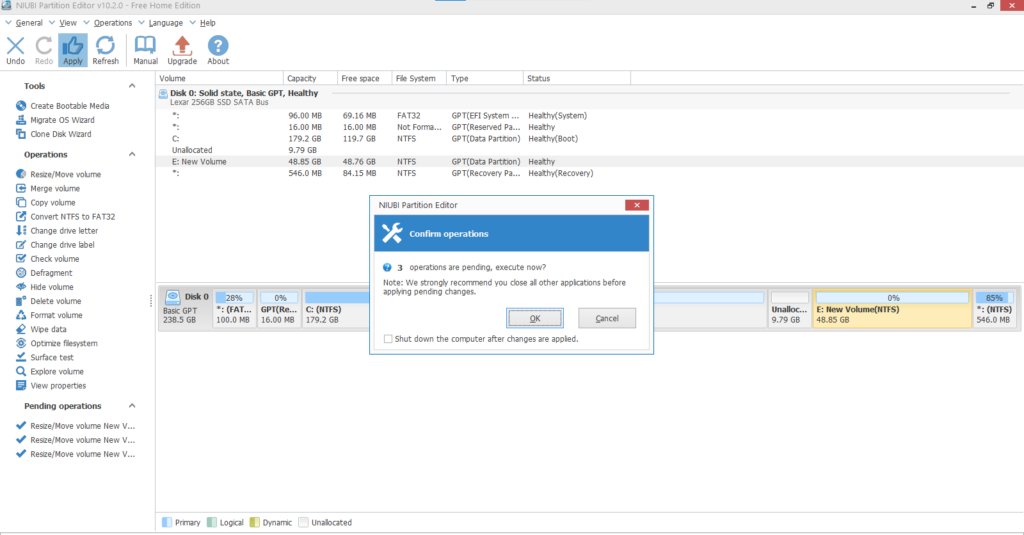
Step 5: Apply the Changes
Click “Apply” in the top-left corner.
Step 6: Extend C: Drive
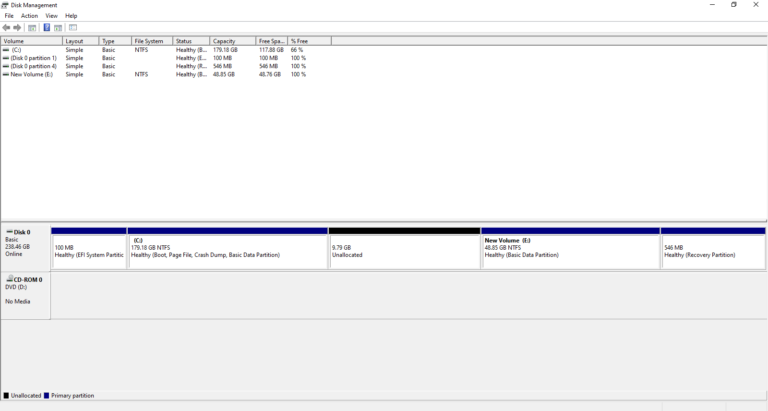
As you can see, in Disk Management the unallocated space is now directly to the right of the C: drive. You can now extend the C: drive
Conclusion
If you can’t extend the C: drive in Windows, you can use free tools like NIUBI Partition Editor to safely move unallocated space and extend the C: drive. The most reliable option is to completely delete the E: drive and all add the unallocated space to the C: drive.
While other tools, such as EaseUS Partition Master, are available, most are paid solutions. NIUBI offers a reliable free option for resolving low disk space issues on Windows 10 and Windows 11.