The Nessus Installation Guide on Windows - The Easy Way
Nessus is a powerful tool developed by Tenable that scans networks, hardware, and applications for vulnerabilities. It prioritizes security issues based on severity and provides detailed information to help address them.
There are several versions of Nessus, but we will use Nessus Essentials, which is free.
Versions:
Nessus Essentials – Free for non-commercial use (supports scan up to 16 IP addresses)
Nessus Professional – Paid version with full feature access
Nessus Expert – Advanced version with support for cloud infrastructure and web applications
We will show you how to download, install and launch Nessus Essentials on Windows.
1. Download Nessus
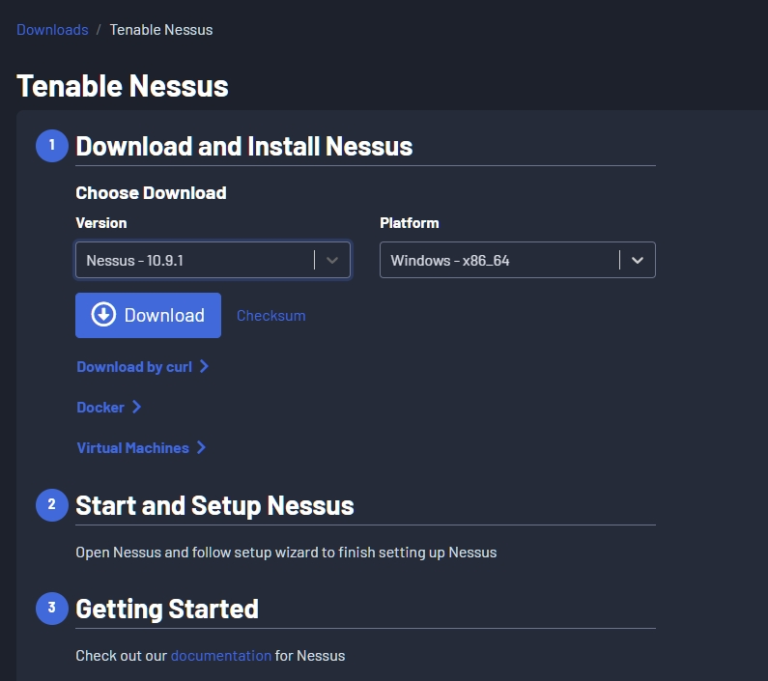
First, visit the Nessus download page and select the installer for your version of Windows to download Nessus. For Windows 64-bit, select the 64-bit installer.
2. Installing Nessus
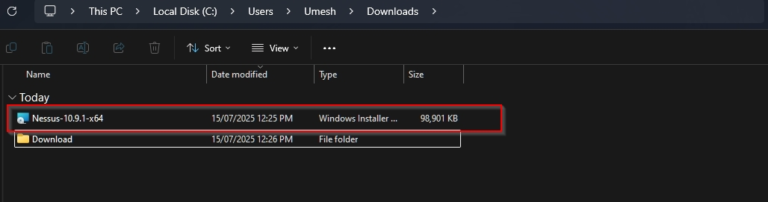
After completing the file download, we can start the installation by simply double-clicking the file in the folder.
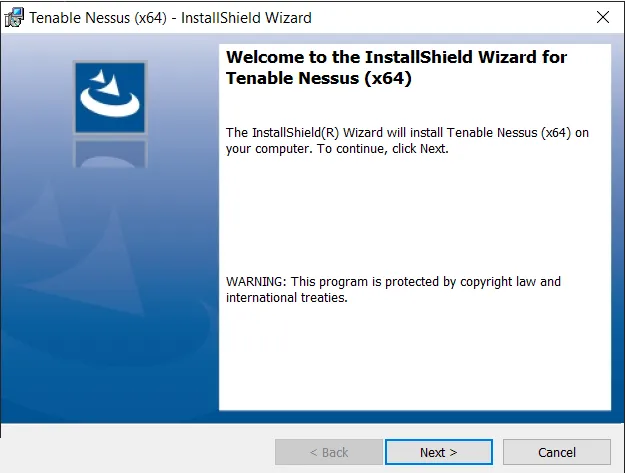
Once the installation wizard opens, click ‘Next’ to proceed, keeping the default settings. Finally, click ‘Install’ to start the installation process
After the installation is complete, Nessus will open link :-
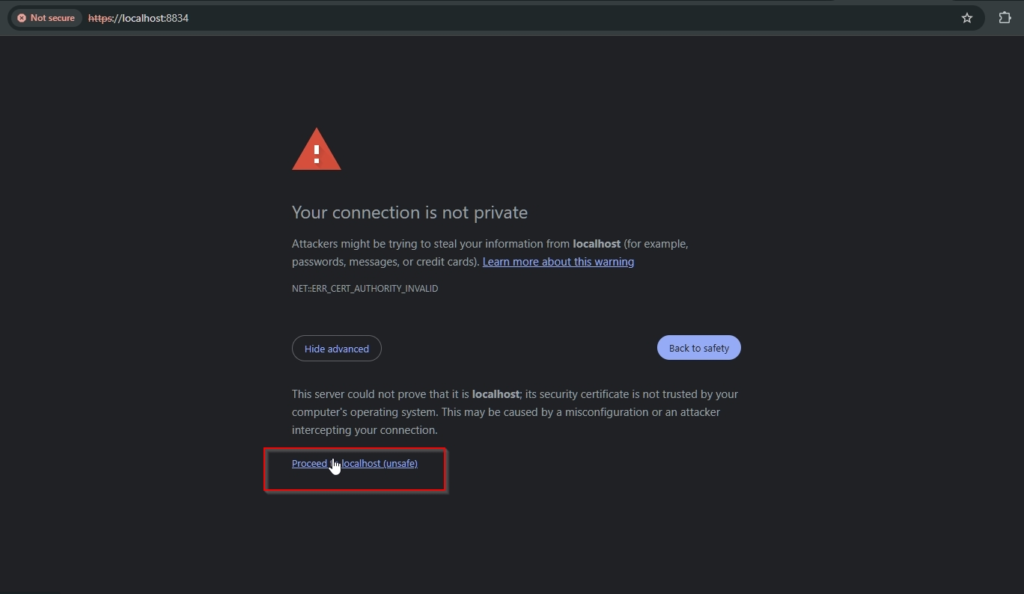
When you click the link, the browser may warn that it’s an unsafe site. No need to worry — it’s completely safe. This happens because the link uses an HTTP connection instead of HTTPS
Click on proceed to local host.
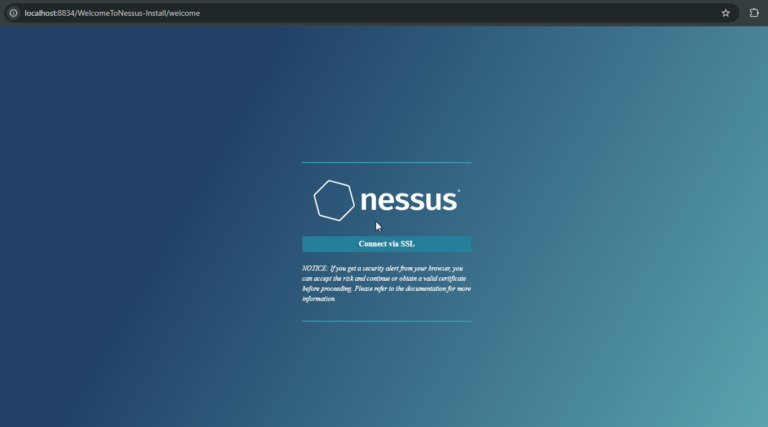
click on “connect Via SSL”
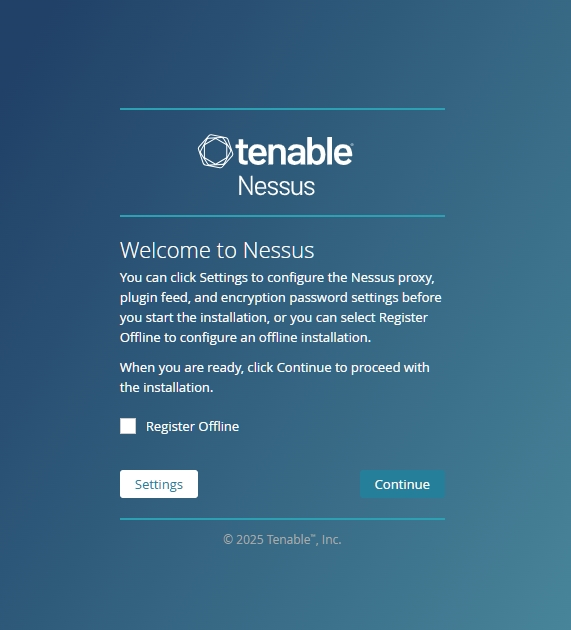
Click on “Continue”
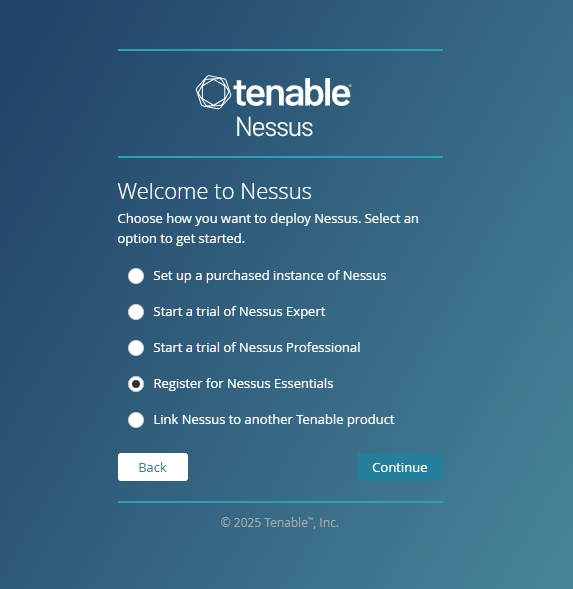
Select “Register for Nessus Essentials” and click “Continue.”
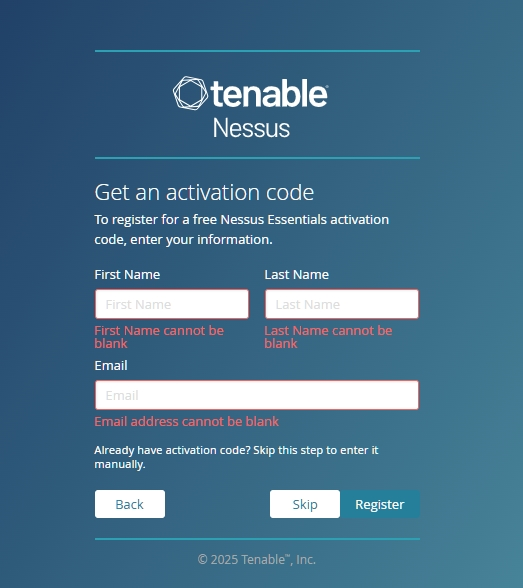
Enter your “Name and Email address” to get your free Nessus Essentials activation code.
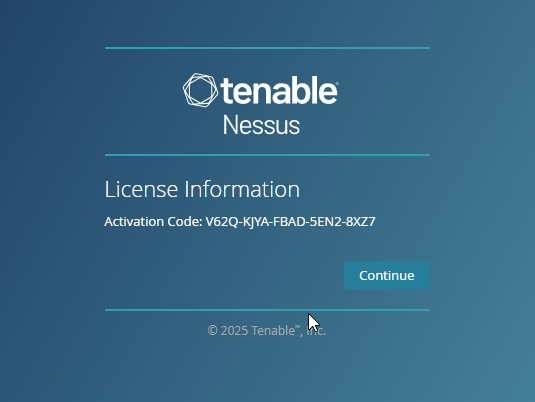
Your activation code will appear on the screen, keep this code in a safe place. Then click “Continue”.
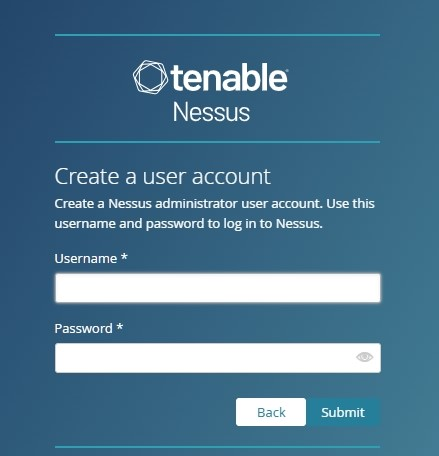
Enter a username and password of you like, then click “Submit”.
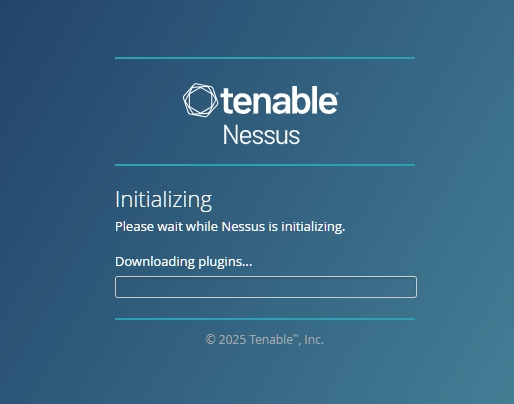
Nessus will start Downloading…
When the download is Completed, Nessus will be ready to use for scanning.
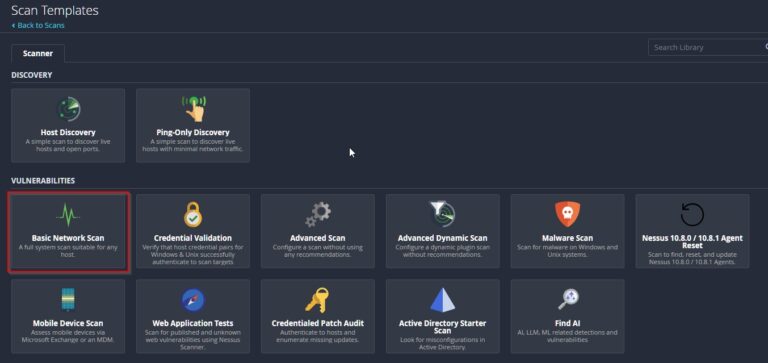
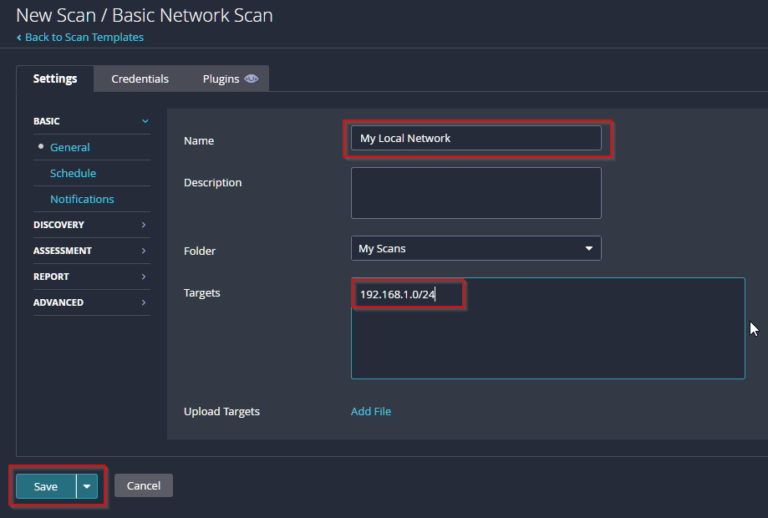
You can start with Basic Network Scan.
Enter Name “eg:- My Network ” and Target “eg:- 192.168.1.0/24”. Then click “SAVE”
You can explore the settings for Discovery, Assessment, and other options as needed. However, to get started, you can keep everything set to default.
Once you save the settings, click the Play button to start scanning.
Once the scan is complete, you’ll see a detailed page with the vulnerabilities found. The results will include severity levels, each indicated by a color code.
Conclusion
If Nessus is blocked by your antivirus during scanning, either disable the antivirus temporarily or allow Nessus through your Intrusion Detection System (IDS) rules.
Enjoy scanning and identifying vulnerabilities in your network!